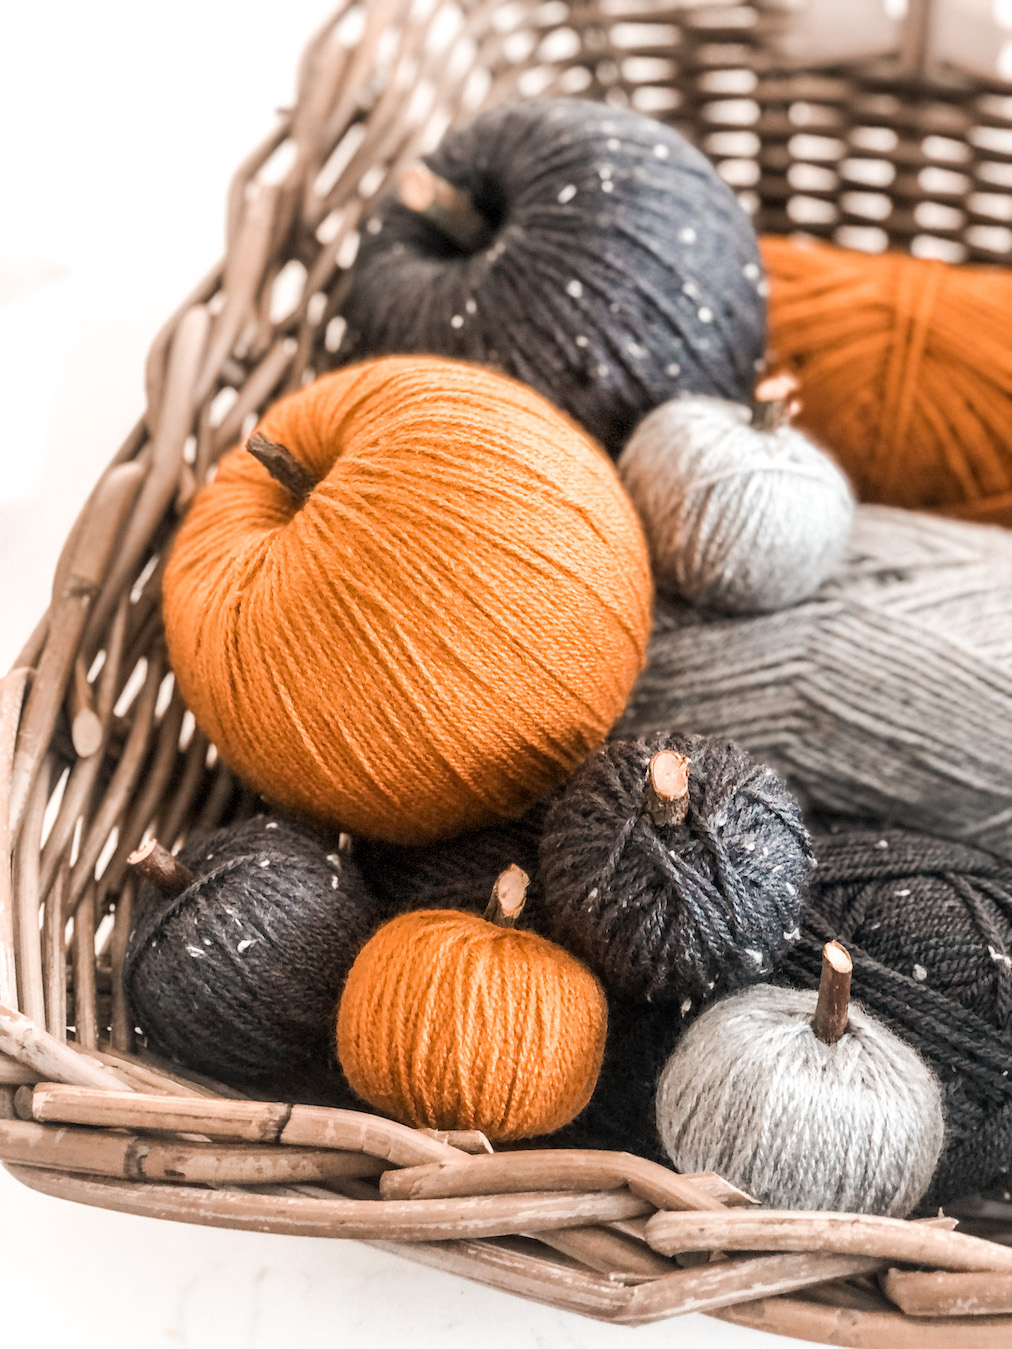
How cute are these DIY pumpkins!? I had a few people asking where I got these from a previous post on Instagram so I decided to share how I made them. They’re super easy to make, don’t cost much, and are the perfect fall home decor.

What you will need
- Wool in the color of your choice. I got an orange, light grey, and dark greyish navy.
- Styrofoam balls in different sizes
- Knitting needle
- Garden shears
- A thin branch from your garden
- Scissors
- kitchen knife and/or screwdriver

Instructions
The first thing you want to do is cut two edges of the styrofoam balls to make them sit flat like a pumpkin would.
For the smaller balls, simply wrap the wool around it until it’s fully covered. You can use a hot glue gun to stick the end of the wool onto the ball or do like I did, and tuck it under the next bit you wrap around. This step is kind of hard to explain but hopefully, it makes sense.
As for the bigger styrofoam balls, I used a kitchen knife and screwdriver and made a hole in the middle. Keep in mind the hole has to big enough for the wool to wrap around, like in the picture below.

If you struggle to pass the wool through the hole, you can use a knitting needle to make it easier. Keep wrapping the wool around the styrofoam ball until its fully covered. When you’re done, go a head and tuck the end tail of the wool into the middle hole of the ball.

Using some gardening shears cut off a small piece of the branch. Stick the piece of wood in the hole you made on one end of the pumpkin or for the smaller one push it through one of the flatter ends.


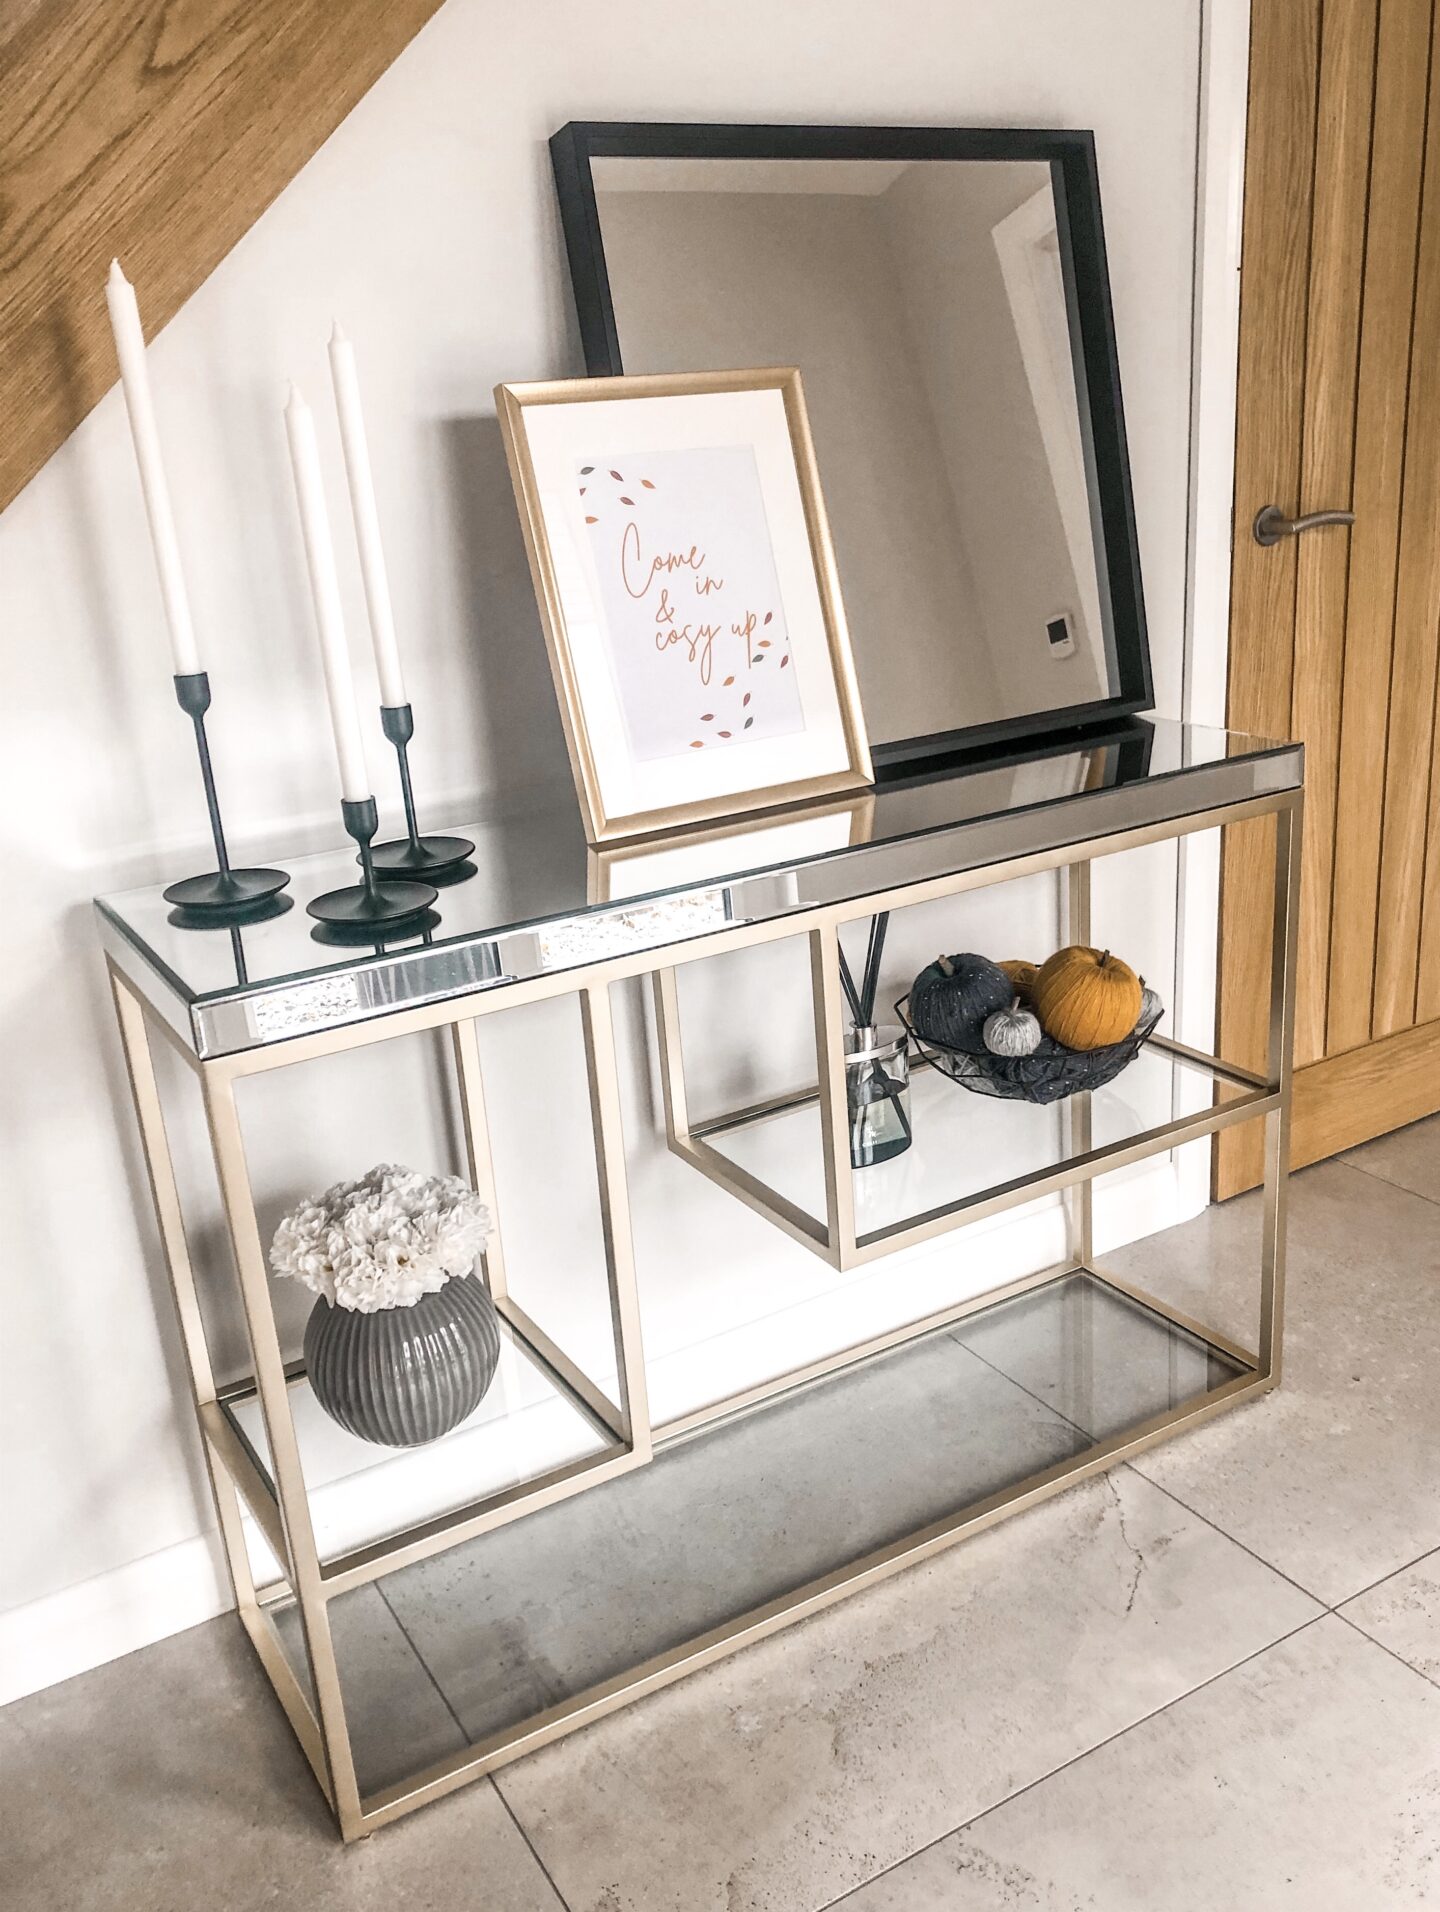
I hope my bad instruction made enough sense for you to give this DIY project a try. Haha! Take a look below to see how I styled these in my home. How cute would these look as part of your fall decor! Leave any questions in the comments below and please tag me on Instagram if you end up giving this a try.

